Organize & Categorize
After you've added items, you may want to categorize them with tags and attributes or organize them using lists. This can make a world of difference when looking for your next action.
Add or delete item tags and attributes
Assigning tags and attributes to your items is a great way to clarify and organize your stuff. Here’s how to add details such as these:
Assign tags and attributes
DESKTOP / MOBILE
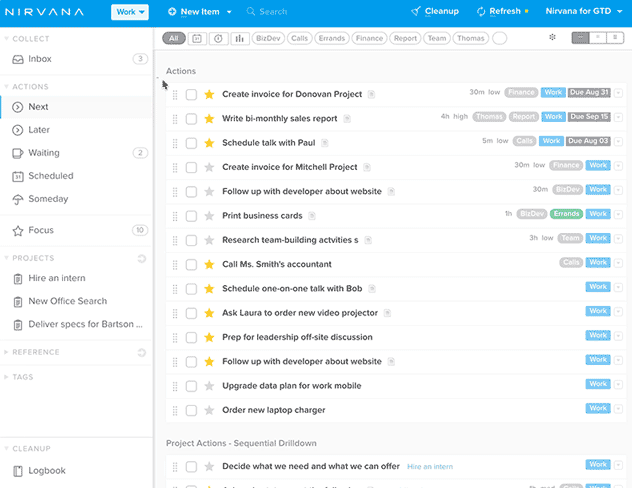
Using the web app, you can edit items from within a list by right-clicking on an item (or multiple lassoed items), or clicking the drop-down icon at the right end of the item(s). From the context menu, you can select or unselect a tag, or add/change/remove an attribute.
If you’re creating or editing an item you can:
- Add a tag by typing within the tags field . You’ll see a list of matching tags and have the option to create a new tag. You can also click the drop-down icon at the end of the item entry and select the tag you’d like to add.
- Remove a tag by clicking the x in its corner from within the tags field. Backspace to delete the last tag in the field.
- Select your time , energy , or due date by clicking the icons on the right side of the panel. Click the icon again to change the attribute.
- Filter your list using the desired tags and they’ll be assigned to items you create in this view.
Good to know: Reference items and project actions inherit the tags of the project or reference list itself. You can add tags and attributes to project actions or reference items individually. However, if you want to delete an inherited tag from the item, you’ll need to remove it from the project or reference list itself.
Manage your tags
You can add, delete, and modify your tags easily in Nirvana.
DESKTOP / MOBILE
Using the web app, press keyboard shortcut G or go to your Settings and click Manage Tags. From here:
- Add new areas, labels, and contacts by going to the appropriate list and clicking
+ New.... - Rename your tag by clicking on it.
- To delete your tag, or to edit its name/type/colour, click on the down-drop icon or right-click the tag name.
- To add or edit an associated email address with a contact tag, click on the name.
Good to know: The free version allows you 2 area tags and the Pro version allows you an unlimited amount.
Add contacts to tasks
Contacts can be managed and added to items in the same way as other tags, but there are 2 differences:
- They can be added to your tasks as “waiting for” contacts or as regular tags.
- In the web app, you can associate your contact with an email address.
Add contacts like regular tags
When you assign a contact to an item as a tag, the item stays in its original list. You’re just adding the contact for organization purposes. If any action is going to take place, it’s your move.
Add “waiting for” contacts:
When you change an action’s state to Waiting, you’ll be asked to associate a contact with the task. This is the person who needs to do something. By looking in the Waiting list, you can see which tasks are pending and with whom you should follow up.
Create reference lists
If your items are not really actions, you’ll want to put them in a reference list. To create one, you can:
- Click New Item or tap the from within the References list.
- Use one of the keyboard shortcuts, such as
LorN. - Convert an item to a reference list.
Give the reference list a name and add any relevant tags.
Add items to the reference list
- You can create reference items by clicking New Item or tapping the from within the reference list or with keyboard shortcut
N. - You can also move items from one reference list to the another.
Use tags with reference lists
As with project actions, reference items inherit the tags of the reference list itself. You can also add tags to reference items individually. However, if you want to delete an inherited tag from the item, you’ll need to remove it from the reference list itself.
Convert items
Nirvana allows you to convert an item into an action, project, reference list, or reference item. Here’s how:
DESKTOP / MOBILE
- Right-click an item or click the drop-down icon at the end of the entry.
- From the context menu, select Convert and make your choice.
Doing this, you can change:
- Reference items into projects, tasks, or reference lists.
- Reference lists into projects / projects into reference lists.
- Tasks into projects, reference lists, and reference items.
Good to know: Converting an item with action-related attributes, such as a task or a project, to a non-actionable item, like a reference list or item, will remove the action-related attributes.
Move items to other lists
Depending on whether you’re using the mobile or web app, there are several ways that you can move an item to a new action list, project, or reference list.
DESKTOP / MOBILE
There are 3 ways to move an item in the web app:
- Click and hold on the item or lasso several items and drag them to the desired list.
- Right-click on the item (or lassoed items) or click the drop-down icon at the right end of the item(s). From the context menu, select move followed by your choice.
- Open an action and choose a different action state. This will move the item to the appropriate action list.
Change multiple items at once with lasso
Using the web app, you can batch-edit several items at once. Here’s how:
Select the items to change
- Click to the top-left of the first task you want to edit.
- Hold the mouse and drag until you’ve selected the last task you want to edit.
- You’ll notice that the dots on the left side of the selected tasks will be highlighted in grey.
- Press and hold
CTRLorCOMMANDto add another group of items to the selection.
Edit the selected items
- Change the state or parent list by dragging your items to an another action list, project, or reference list.
- You can also right-click the items and select the desired tags, time, energy, due date, or action state from the context menu.
See the total estimated time
Lasso multiple items, right-click, and you’ll see the total amount of time to complete the selected items.